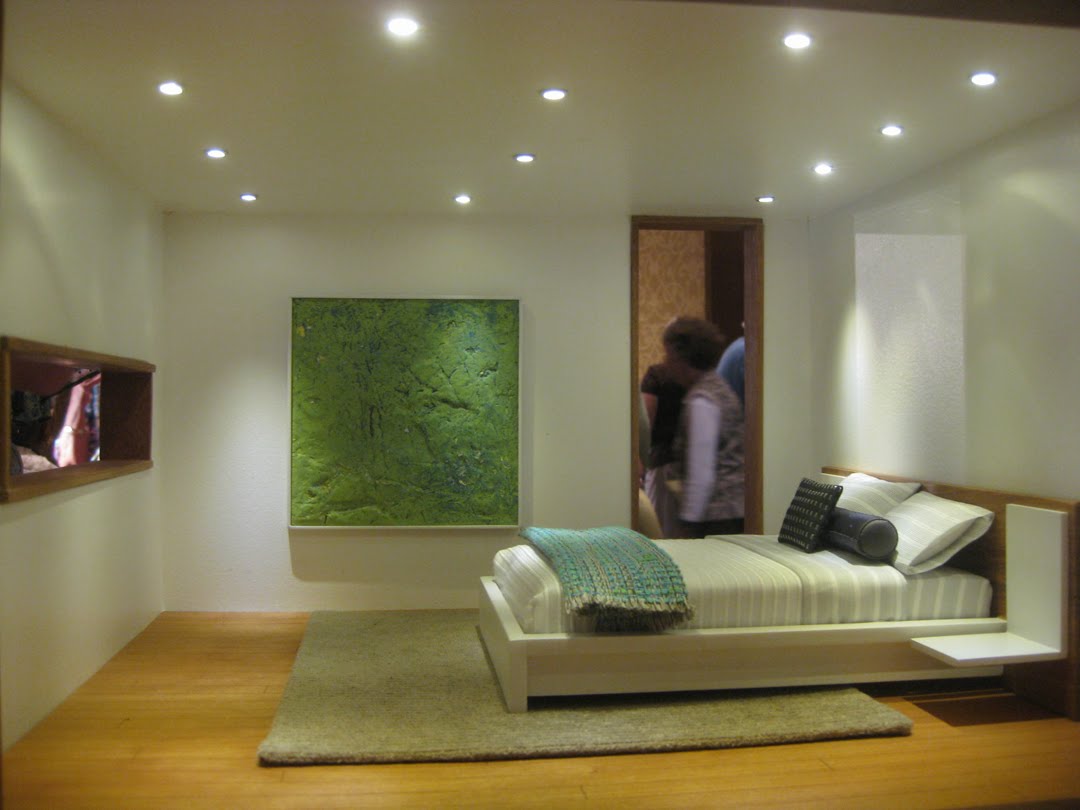


For their first time at the Good Sam Showcase of Miniatures, Paris and Lisa Renfroe didn't just have a display, they had a showroom! The large picture (from Paris'
flickr page) shows the display in its entirety. Shoving my camera around to take pictures felt like I was in a real modern showroom. You didn't even have to look them up on the map of vendors, you could see it from across the room and it drew you in.
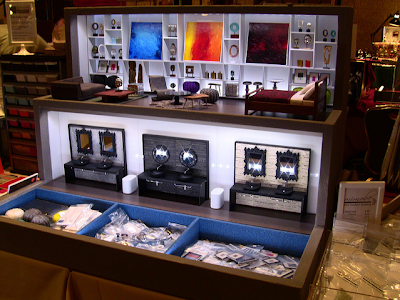
Paris had a ton of new items, modern picture frames, stools, accessories, knitted poufs, driftwood sculptures... some are up on his website under
Decorative Accents, I'm sure more will be up soon.


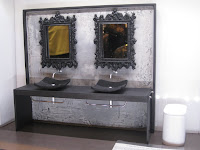
Bathrooms have never looked so good. Paris' new Urban vanity with Baroque flair, Soho vanity unit, and French styled baroque vanity unit, are all to die for. I'm getting one of these for my Antrim as I love the idea of a black bathroom. The new rounded hatbox toilets are really cool, too. Paris' bathroom items are on PRD Miniatures under
Bath Units.


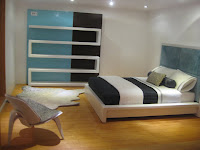
The
Skylofts were there in all of their glory. I love how they are modular, stackable, and you can customize them any way you want. Paris'
beds and Lisa's
Mimobe bedding are so chic and gorgeous, it's an easy way to add luxury to any mini bedroom. Being artist's in 1:1 scale, translates wonderfully into their 1:12 scale pieces; their
artwork looks fantastic in any room.


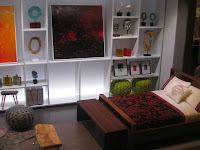
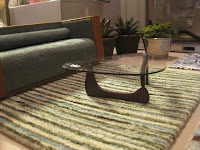
The
M112 Pods were in the house too. I think these are the coolest rooms to play around in and showcase your collection. The new knitted poufs make the cutest side table or cool modern seating. I love how Paris cut up the
carpet tiles to make the ultra modern rugs.


Paris and Lisa are so cutting edge modern it hurts. Everytime I get a new catalog or modern magazine, as I'm flipping through it, I'm saying "hey Paris already did that". I LOVE the new flat screen TV, and
rugs, and Paris' signature
M.U.T.T. furniture line is my favorite. I adore this magazine rack, too cool.
I put in a lot of miles driving down to see them every day, but it's not often you get to be a groupie for rock stars of the modern miniatures world. Paris and Lisa are so passionate and enthusiastic, I can't wait to see what PRD Miniatures comes up with next.
More PRD Miniatures can be found here on
flickr,
shutterfly and for sale at
PRDMiniatures.com .
 NEW DATE